Gradle Build Files in Android 第一章
Gradle for Android Basics
Android applications 使用gradle构建,gradle是一门高级语言并且广泛用于java中,提供的Android插件为Android apps开发提供了很多的功能,例如build types, flavors, signing configurations, library projects,更多可查看Android Plugin DSL Reference
1.1 Gradle Build Files in Android
问题
你想理解创建Android工程生成的build file
解决方案
创建一个新的Android工程并查看settings.gradle, build.gradle, 和 app/build.gradle.
分析
Android Studio 是官方提供开发Android projects 的IDE,通过Android Studio 向导Start a new Android Studio project创建第一个项目吧。
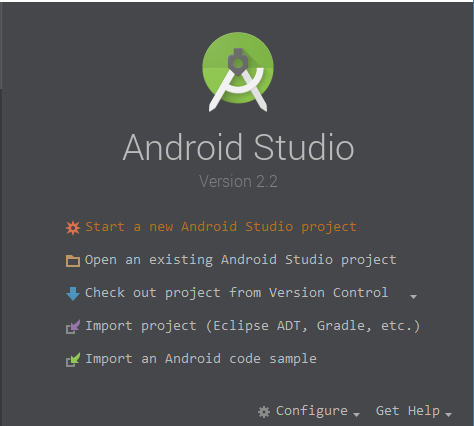
这一步就不多说了,相信大家都知道的。
然后我们看到一个默认的工程是怎么样的。
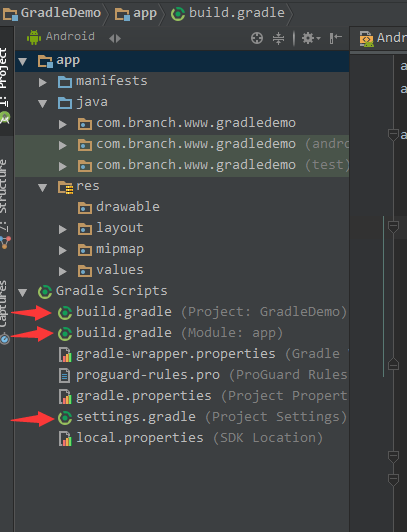
settings.gradle
Gradle 构建的Android工程是一个多项目工程,在settings.gradle中显示当前项目有哪些module。默认显示:
include ':app'
如果这时我创建一个名为gradledemomodule 的library项目
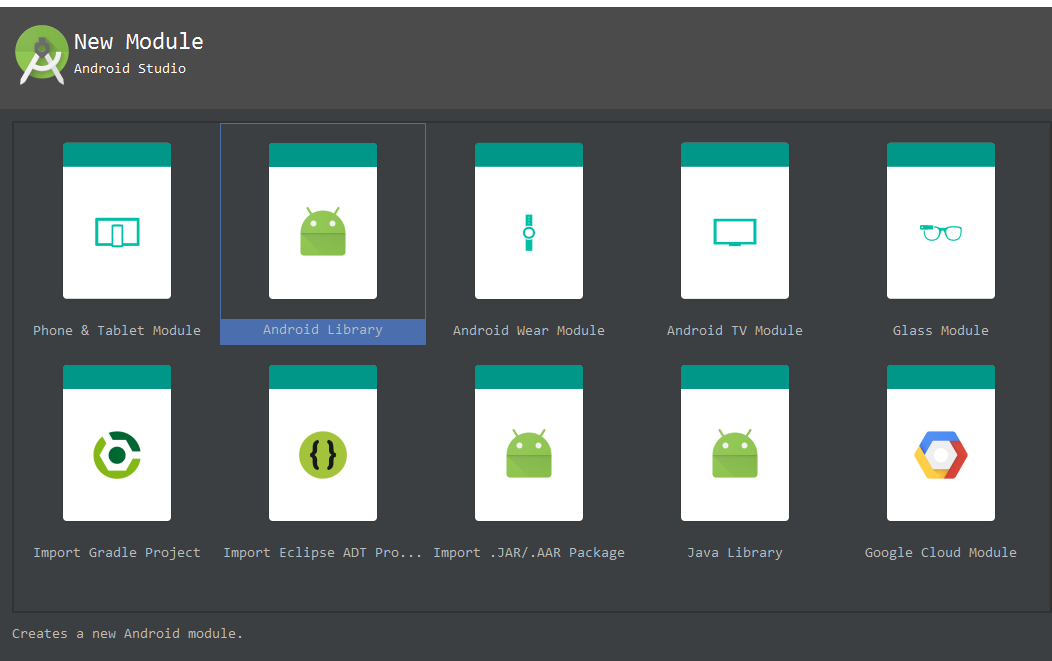
则settings.gradle会增加gradledemomodule,多个项目用,隔开,显示如下:
include ':app', ':gradledemomodule'
project的build.gradle
    buildscript {
      repositories {
        jcenter()
      }
      dependencies {
        classpath 'com.android.tools.build:gradle:2.1.0'

        // NOTE: Do not place your application dependencies here; they belong
        // in the individual module build.gradle files
      }
    }

    allprojects {
      repositories {
        jcenter()
      }
    }

    task clean(type: Delete) {
      delete rootProject.buildDir
    }
首先来看下buildscript节点,他是gradle脚本自身需要使用的资源,资源下载来自jcenter仓库,关于jcenter和Maven单独去了解。jcenter目前是默认的,他兼容了Maven并且性能更优。然后在dependencies节点中声明了我们使用的gradle版本。
或许我们会以为allprojects中也同样声明了jcenter是否是重复了,其实不是的allprojects设置所有project默认的仓库来源,与buildscript作用范围是不一样的。
task clean声明了一个任务,任务类型是Delete(也可以是copy等),每当修改settings.gradle后同步则会删除rootProject.buildDir目录下所有。
app的build.gradle
    apply plugin: 'com.android.application'

    android {
      compileSdkVersion 24
      buildToolsVersion "23.0.3"

      defaultConfig {
        applicationId "com.branch.www.gradledemo"
        minSdkVersion 18
        targetSdkVersion 24
        versionCode 1
        versionName "1.0"
      }

      buildTypes {
        release {
          minifyEnabled false
          proguardFiles getDefaultProguardFile('proguard-android.txt'), 'proguard-rules.pro'
        }
      }
    }

    dependencies {
      compile fileTree(dir: 'libs', include: ['*.jar'])
      testCompile 'junit:junit:4.12'
      compile 'com.android.support:appcompat-v7:24.1.1'
    }
这个目录下的build.gradle 是开发过程中最重要的,首先看到apply plugin: 'com.android.application',他的作用是把Android插件加入到当前build工程,相应的插件功能可看上一个DSL。
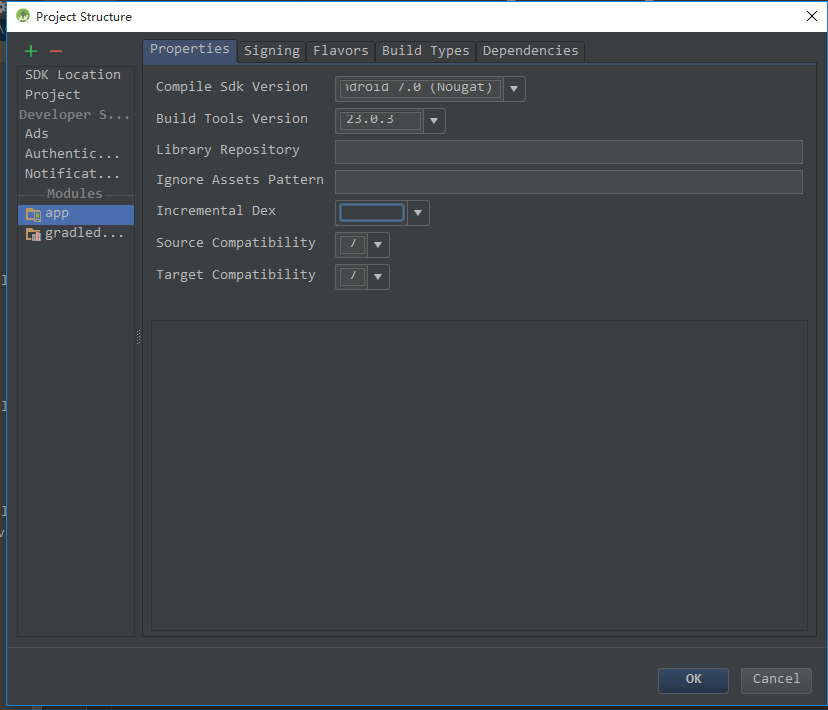
android节点则是一些Android的配置,例如app 版本,编译sdk,包名,混淆配置,多渠道等。
dependencies节点是帮助我们添加项目依赖,并且通过上一个.gradle知道默认仓库是jcenter
1.2 配置SDK版本以及其他
问题
你想要设置最低和目标Android SDK版本或者是否混淆等。
解决方法
修改当前build.gradle中android节点中的配置。
分析
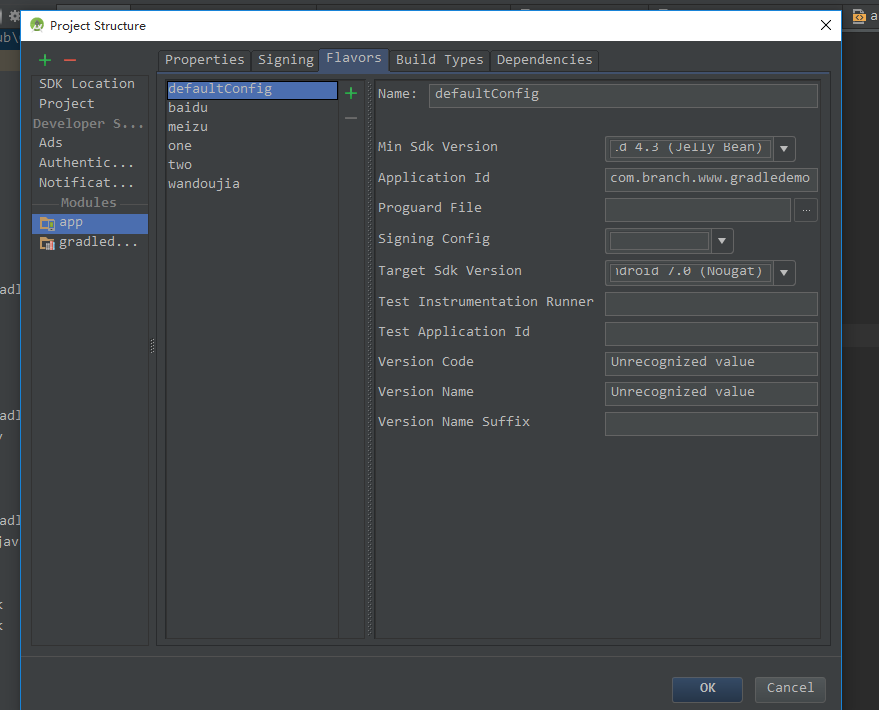
android节点是配置app相关的属性。
    android {
        compileSdkVersion 23
        buildToolsVersion "23.0.3"
            defaultConfig {
                applicationId "com.kousenit.myandroidapp"
                minSdkVersion 19
                targetSdkVersion 23
                versionCode 1
                versionName "1.0"
            }
        compileOptions {
        sourceCompatibility JavaVersion.VERSION_1_7
        targetCompatibility JavaVersion.VERSION_1_7
    }
    }
这些参数大多在AndroidManifest.xml遗弃,现在在build.gradle中使用。
1.3 在控制台执行gradle build
问题
你想通过命令run gradle tasks.
解决方法
在控制台运行它。
分析
你不需要为了build Android project 而去下载安装gradle ,因为项目中已经配置好了。直接在Android Studio的terminal中执行。
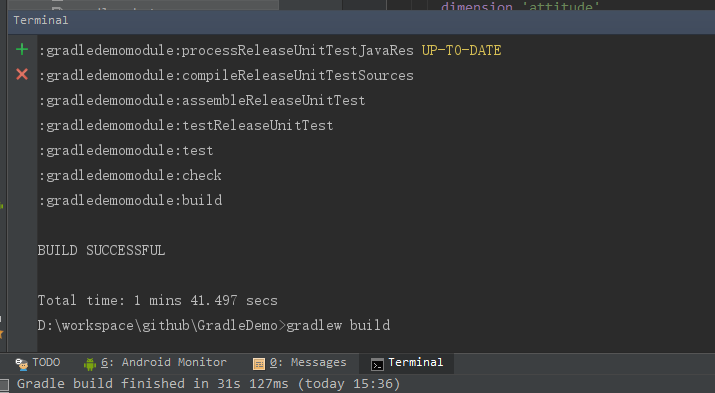
windows下输入gradlew build即可。
在控制台你可以运行任何gradle支持的task,包含自定义的task,输入gradlew tasks会列出项目中所有 task。这份报告显示项目中所有的默认 task 以及每个 task 的描述。
额外的功能和控制台标记
-
使用空格分开使一次run多个task。如:
>gradlew lint hellolint是自带的,hello是我自己写的,这样就会执行lint后再执行hello.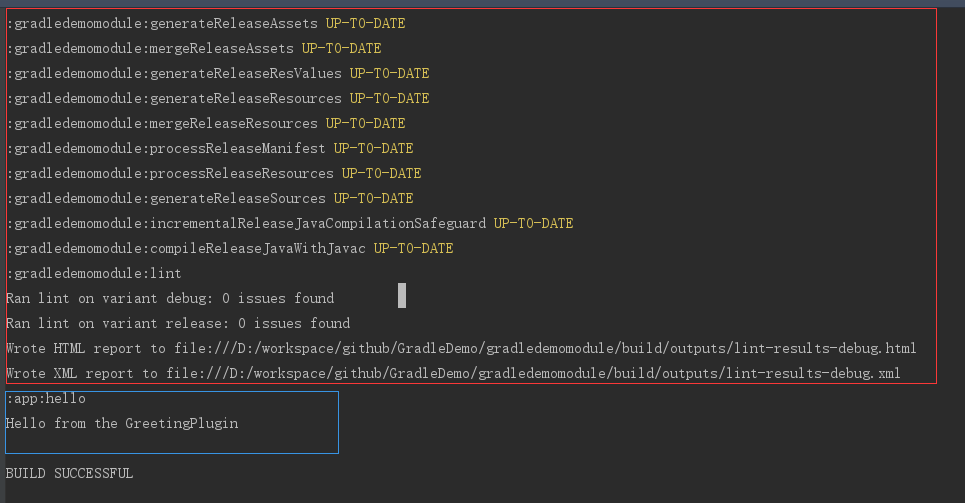 gradlew-multiple-tasks
同时你会发现相同名字的task在一次执行中只会执行一遍。
-
使用
-x标记排除task>gradlew lint -x hello这一次执行只会执行lint而不会执行hello。
-
发生故障时继续构建 --continue
默认情况下,只要任何 task 失败,Gradle 将中止执行。这使得构建更快地完成,但隐藏了其他可能发生的故障。为了发现在一个单一的构建中多个可能发生故障的地方,你可以使用 --continue 选项。
-
任务名称缩写
例如我创建一个名为
greet的task,在控制台输入>gradlew g也可以执行,也就当你试图执行某个 task 的时候,无需输入 task 的全名.只需提供足够的可以唯一区分出该 task 的字符即可 -
选择要执行的构建
调用 gradle 命令时,默认情况下总是会在当前目录下寻找构建文件(译者注:首先会寻找当前目录下的 build.gradle 文件,以及根据settings.gradle 中的配置寻找子项目的 build.gradle )。 可以使用 -b 参数选择其他的构建文件,并且当你使用此参数时 settings.gradle 将不会被使用,看下面的例子:
  app/demo.gradle

      task demohello <<{

      println "hello demo gradle"
  }
在app目录下我又创建了一个
demo.gradle,如果想要执行demo.gradle中的task可以使用-b,如:gradlew -b app/demo.gradle demohello如果不想使用
-b可以使用apply把demo.gradle加入到当前build.gradleapply plugin: 'com.android.application' apply from: 'demo.gradle'如果这样配置后执行是直接使用task名。
-
显示 task 使用细节
执行
gradle help --task someTask可以获取到 task 的详细信息, 或者多项目构建中相同 task 名称的所有 task 的信息,如下Detailed task information for demohello Path :app:demohello Type Task (org.gradle.api.Task) Description - Group - BUILD SUCCESSFUL
1.4 使用Android Studio执行Gradle Builds
问题
直接通过Android Studio 执行Gradle
解决方法
使用Gradle 视图去执行tasks
分析
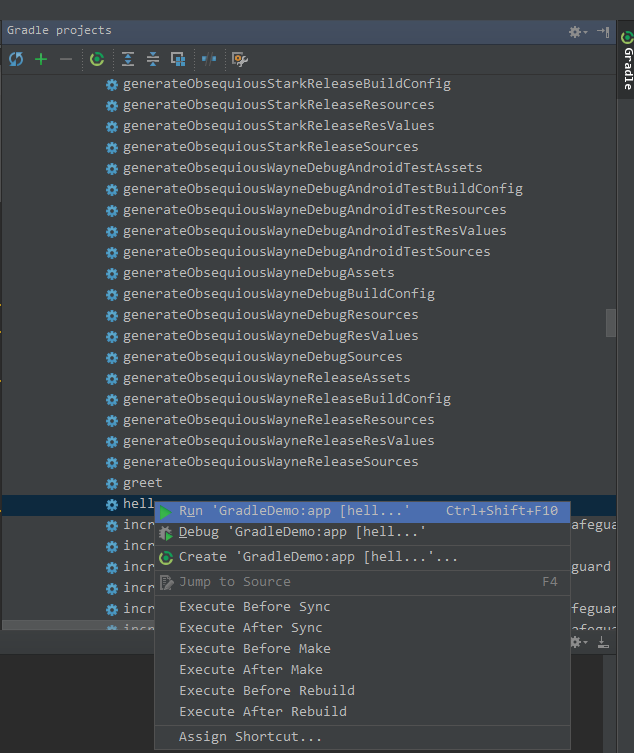
Android Studio 本身是带有Gradle 视图列出所有tasks.
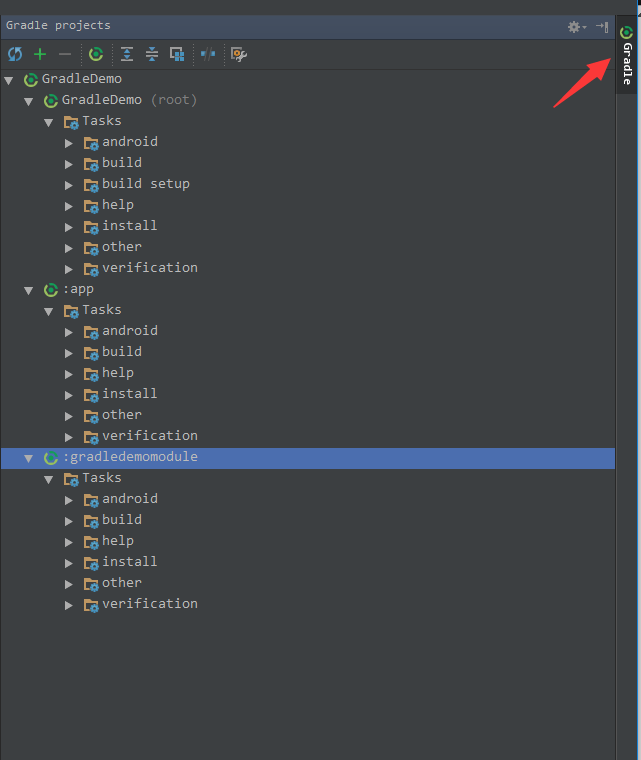
选择一个执行,双击或右键选择执行
1.5 添加java library
问题
添加java library 到项目中
解决方法
在build.gradle的dependencies添加
分析
默认的dependencies
    dependencies {
      compile fileTree(dir: 'libs', include: ['*.jar'])
      testCompile 'junit:junit:4.12'
      compile 'com.android.support:appcompat-v7:24.1.1'
    }
-
dependencies基本语法
library依赖完全的语法是 group:name:version
-
完全语法:
testCompile group: 'junit', name: 'junit', version: '4.12'
-
简写语法:
testCompile 'junit:junit:4.12'
-
版本为变量的写法(不推荐):
testCompile 'junit:junit:4.+'
只要版本大于等于4.0的都可以。
-
jar包依赖:
dependencies {
compile files('libs/a.jar', 'libs/b.jar')
compile fileTree(dir: 'libs', include: '*.jar')
}
-
Synchronizing the project
每次更改.gradle后需要同步整个项目,通常IDE会在顶部提示:
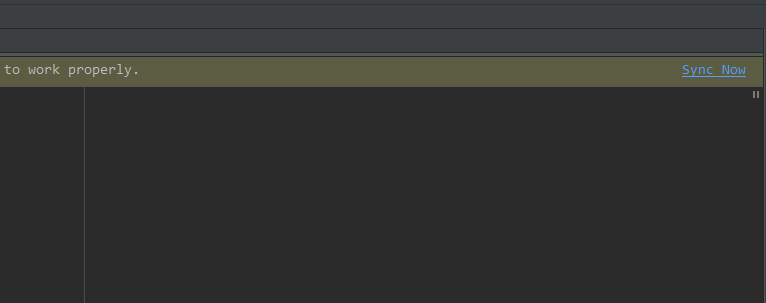
或
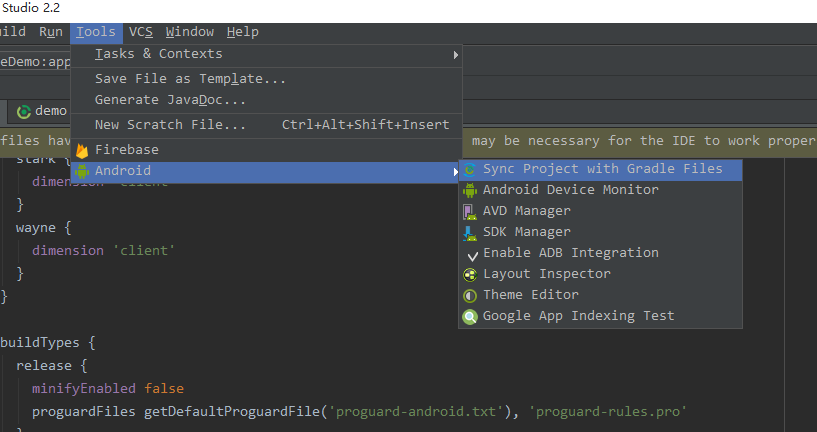
同步时会到仓库去下载依赖包。
Transitive dependencies
间接依赖是指在依赖的A中同时A又依赖了B,那么依赖就会同时下载A,B到项目中,而如果在你的项目中你本身就依赖了B则会出现jar包冲突
可在控制台执行androidDependenciestask查看间接依赖。
间接依赖默认是允许的,可以通过transitive关闭,例如:
    dependencies {
    runtime group: 'com.squareup.retrofit2', name: 'retrofit', version: '2.0.1',
    transitive: false
    }
或,只需要groovy-all本身的jar包,不需要间接依赖的。
    dependencies {
        compile 'org.codehaus.groovy:groovy-all:2.4.4@jar'
    }
或
    dependencies {
        compile group: 'org.codehaus.groovy', name: 'groovy-all',
           version: '2.4.4', ext: 'jar'
    }
如果是aar则把@jar换成@aar。
Excluding dependencies
如果一个library中有我们不需要的包,则可以通过exclude移除。
    androidTestCompile('com.android.support:appcompat-v7:24.1.1') {
    exclude group: 'support-vector-drawable'
    exclude group: 'animated-vector-drawable'
    }
1.6 通过Android Studio 添加依赖包
问题
使用Android Studio添加依赖,而不是直接使用build.gradle
解决方案
在项目设置中的Dependencies选择依赖lib
分析
打开项目设置,选择Dependencies
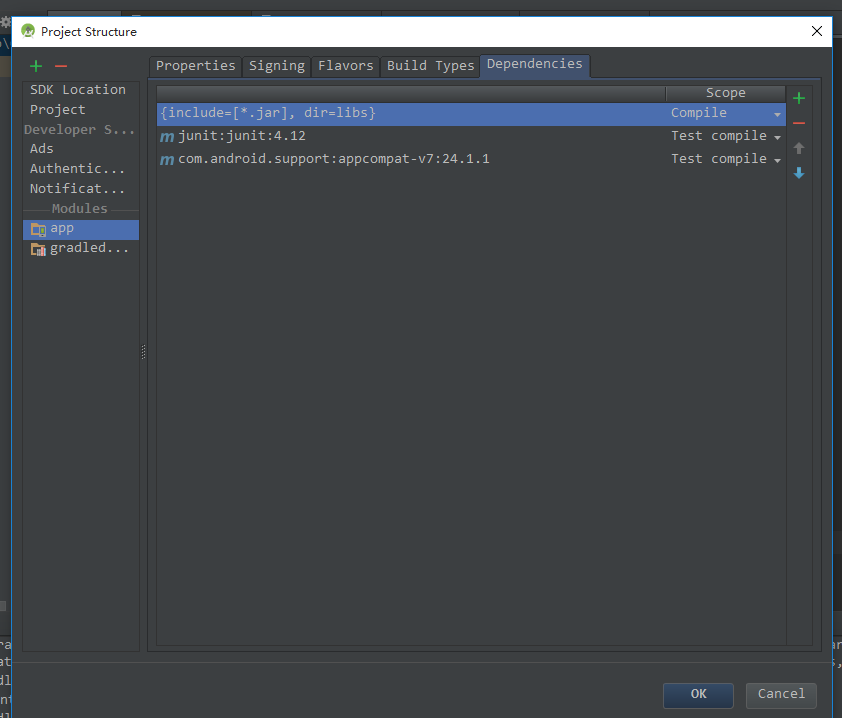
同时Dependencies提供了6中依赖作用范围:
-
Compile
compile是对所有的build type以及favlors都会参与编译并且打包到最终的apk文件中。
-
Provided
Provided是对所有的build type以及favlors只在编译时使用,类似eclipse中的external-libs,只参与编译,不打包到最终apk。
-
APK
只会打包到apk文件中,而不参与编译,所以不能再代码中直接调用jar中的类或方法,否则在编译时会报错
-
Test compile
Test compile 仅仅是针对单元测试代码的编译编译以及最终打包测试apk时有效,而对正常的debug或者release apk包不起作用。
-
Debug compile
Debug compile 仅仅针对debug模式的编译和最终的debug apk打包。
-
Release compile
Release compile 仅仅针对Release 模式的编译和最终的Release apk打包。
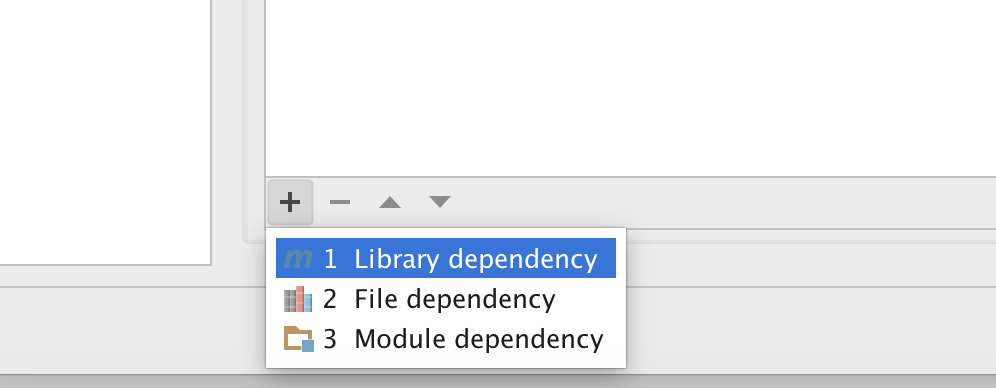
依赖的方式有三种,仓库依赖,文件依赖,module依赖。
1.7 Configuring Repositories
问题
你想要gradle 准确的实现任何library依赖。
解决方法
配置repositories节点
分析
-
Declaring Repositories
repositories中告诉gradle到哪里去找到依赖,通常我们都是使用jcenter()repositories { jcenter() }jcenter 仓库在
https://jcenter.bintray.com/同时我们也可以使用
maven地址:http://repo1.maven.org/maven2repositories { mavenLocal() mavenCentral() }maven 支持在本地发布仓库,然后使用。
maven 也能通过url加载依赖。
  repositories {
  maven {
      url 'http://repo.spring.io/milestone'
  }
  }
如果仓库有保护,可以使用username,password
  repositories {
  maven {
      credentials {
          username 'username'
          password 'password'
      }
      url 'http://repo.mycompany.com/maven2'
      }
  }
使用lvy 仓库
  repositories {
      ivy {
          url 'http://my.ivy.repo'
      }
  }
使用本地目录作为仓库
  repositories {
      flatDir {
  dirs 'lib' }
  }